
About
Zoomify is a tool that allows you to create interactive, zoomable images from large image files. There is a free version, as well as paid options.
What does it do?
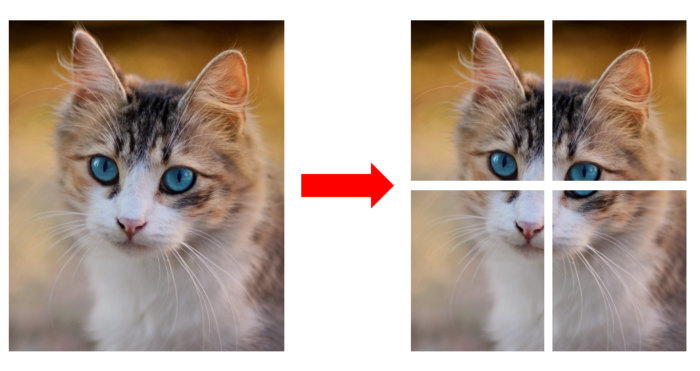
Zoomify takes a very large image and breaks it down into hundreds of much smaller files, and creates the appropriate index file that tells whatever program is using the Zoomify-ed image how to rearrange it. This way, a website never has to load the entire large image, but just the smaller pieces that are being viewed at that time, and at the zoom level specified. This is called tiling.
After Zoomify has created the smaller images (tiles), it can either provide them as a folder of images, or a Zoomify ZIF file if you purchased a paid version of the Zoomify software. After you’ve used Zoomify, then you use another tool such as StoryMapJS to display the results.
Why this tool?
Zoomify works well if you want to have an image that you can zoom in very closely on an image and get very fine details, or use an additional tool such as StoryMapJS to add annotations.
Getting Started
You will need:
- A copy of the Zoomify program (free or paid) and a Windows computer to install it on. The Macintosh version of Zoomify doesn’t work with Mac OS X 10.15 and later, so you will likely need access to a Windows PC in order to use Zoomify.
- A high-resolution image (the higher resolution, the better)
- A place to store the Zoomify files on the Internet (such as Sites at Gettysburg)
When you download Zoomify, you will get a ZIP file. Open it up and look for the Zoomify Free Converter.exe file (if using Windows) and drag it to your Desktop. Then you just open it up to run it, no installation required.
Limitations
The free version of Zoomify only lets you create folders of tiles. While this is fine for StoryMapJS, the Zoomify embed for WP WordPress plugin wants a ZIF (Zoomify Image File) which can only be created with a paid version. If you need help with this, contact R.C. Miessler (rmiessle@gettysburg.edu).
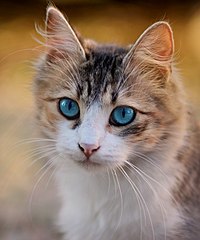
When finding an image, you want to get an image that is large enough to be zoomable to the level that you want and still see lots of detail. For example, let’s take our cat picture above, at two different sizes (measured in pixels, or the smallest unit that is displayed on a screen).
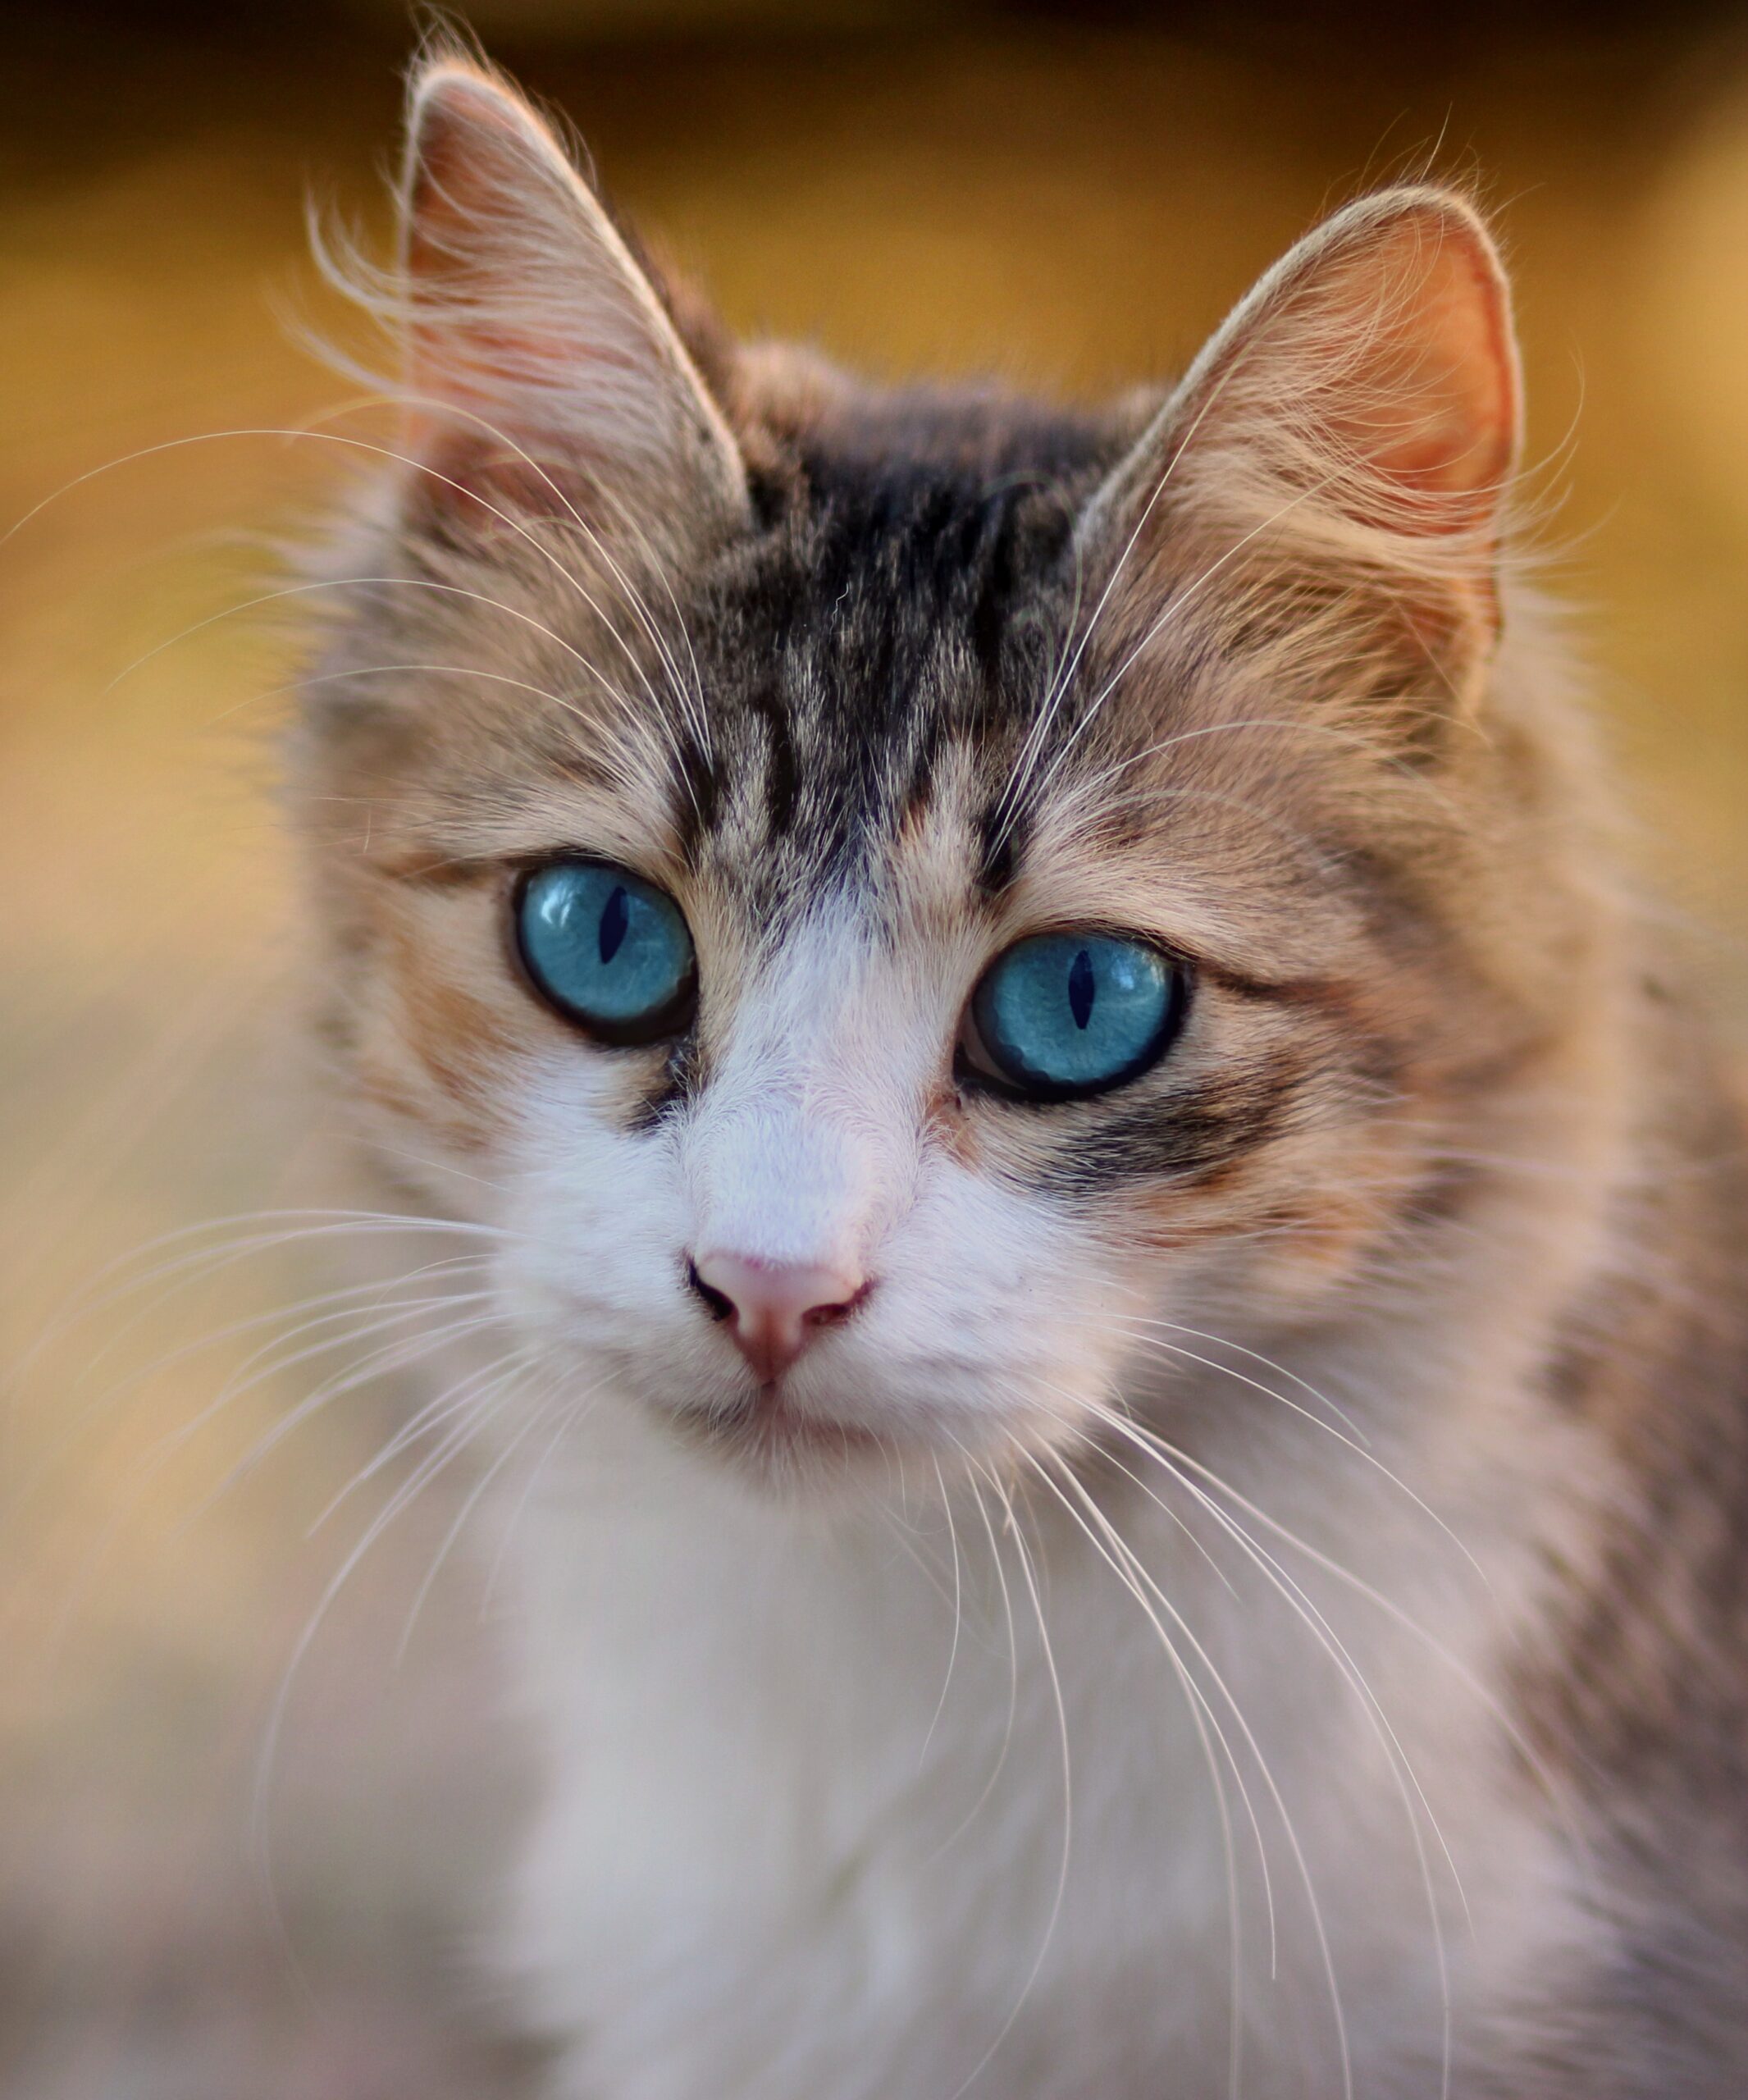
When you crop out a small portion of the picture, you get very different results when you zoom in.
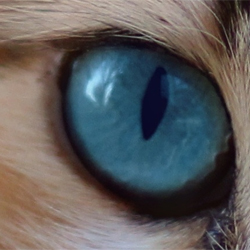
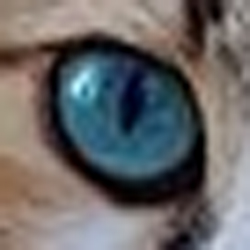
The portion of the image cropped from Image A is much clearer than Image B, because we started with larger picture that had many more pixels to start with. Computers can subtract information from images, but not add information back. More pixels means more detail. When you have fewer pixels, then the image loses a lot of sharpness, especially when you zoom in close.
Using Zoomify
The following videos will show you how to use the Zoomify free edition on Windows to create a folder of Zoomify tiles, as well as how to create a ZIP file of the folders that can be used with Sites. Once you have created a ZIP file, you can upload this to Sites and extract the files.
Video: Using Zoomify
Video: Zipping Zoomify folders
Adding a Zoomify Folder to Sites
Adding a Zoomify folder to Sites requires using the File Manager in the cPanel.
- After zipping up the Zoomify folder, go to the Sites cPanel and select File Manager.
- Open up the public_html folder, then navigate to where you want the final folder full of Zoomify images to live in Sites.
- Click the Upload button, then drag the .ZIP file you created into Sites.
- Right-click on the .ZIP file, then select Extract. The files and folders in the .ZIP file will be extracted, and you can view them individually now.
- You can then find the original .ZIP file in the File Manager, and right-click on it and select Delete.
NOTE: if you are using Zoomify with StoryMapJS to create a Gigapixel map AND embed it into WordPress, do not put the directory with the TileGroup# folders and ImageProperties.xml file into the same directory as your WordPress installation. You will not be able to access the files from StoryMapJS. Create a separate folder outside of the directory where your WordPress installation is, and upload the files there. For example, if your WordPress installation is at public_html/wordpress-project-name, unzip the files and folders into public_html/zoomify/wordpress-project-name/storymap-name .
Zoomify and StoryMapJS
The most commonly used application of Zoomify is to create an annotated image in StoryMapJS, also called a Gigapixel image. To do this, you must have completed the following:
- Found a high-resolution image online and copied the attribution, width, and height.
- Turned the image into a folder of tiles using Zoomify.
- Zipped the folder of tiles and uploaded to Sites via File Manager, then extracted it.
- Copied the link to the folder of tiles from your Sites domain.
Once you have done that, when you create your StoryMapJS, you will select the Gigapixel option and add some additional information.
- In StoryMapJS, go to Options.
- Change Map Type to Gigapixel.
- In the Zoomify URL link field, paste in the link to the folder that was unzipped. It should look similar to: https://demo.sites.gettysburg.edu/zoomify/Tabby_cat_with_blue_eyes-3336579/, where zoomify and Tabby_cat_with_blue_eyes-3336579 are folders in File Manager. You do not put a direct link to an image file (such as one that ends in .jpg).
- In the Max Image Size fields, enter the width and height of the image (in pixels).
- In the Attribution field, enter the attribution information for your image.
Once you have completed these steps, Save your StoryMapJS. It may look weird at first, but refresh the browser and it should be fine.